Canon EOS 60D ,Canon EF 70-200mm f/2.8L IS USM
1/400s f/11.0 at 200.0mm iso400
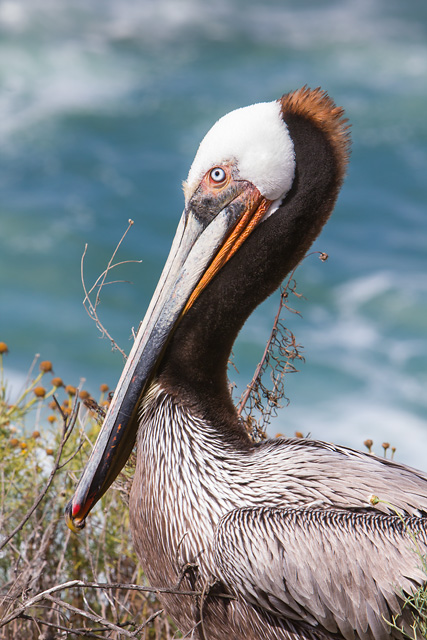
Brown Pelican
There are more and more pelicans at La Jolla Cove, so they are resting higher up the cliffs and closer to the sidewalk than ever. This one was only about 15 feet away. I had never seen one sit in the bushes before rather than on the rocks.
Let’s use this photo to talk about dynamic range. Dynamic range is the range of brightness levels between the lightest and darkest parts of an image. Here, there is a huge difference in brightness between the white part of the pelican’s head (which is facing the sun) and the dark neck (which is facing away from it).
A jpeg image (such as you see on this website) only has 256 different values for each of the three basic colors (red, green, blue), or 8 bits of color depth. This turns out to be not nearly enough for the dynamic range in this photo. Yet, you can still see details in both the white highlights and the dark shadows. So, how did I do it?
The answer lies in shooting raw images and in post-processing techniques. When you shoot in raw format, you usually get 12 or 14 bits of color depth depending on your camera. That translates to over 4,000 or over 16,000 color values for each of the three colors. There are lots of different programs you can use to convert raw images to jpegs, and they have various tools to help recover highlight or shadow details that would have been lost had you shot jpeg straight out of the camera. I happen to use Adobe Camera Raw, which comes as part of Adobe Photoshop.
By the way, this is a great time to try out Photoshop for free for possibly a few months, since there is a free download of the beta version of Photoshop CS6, the next major version that will come out later this year.

